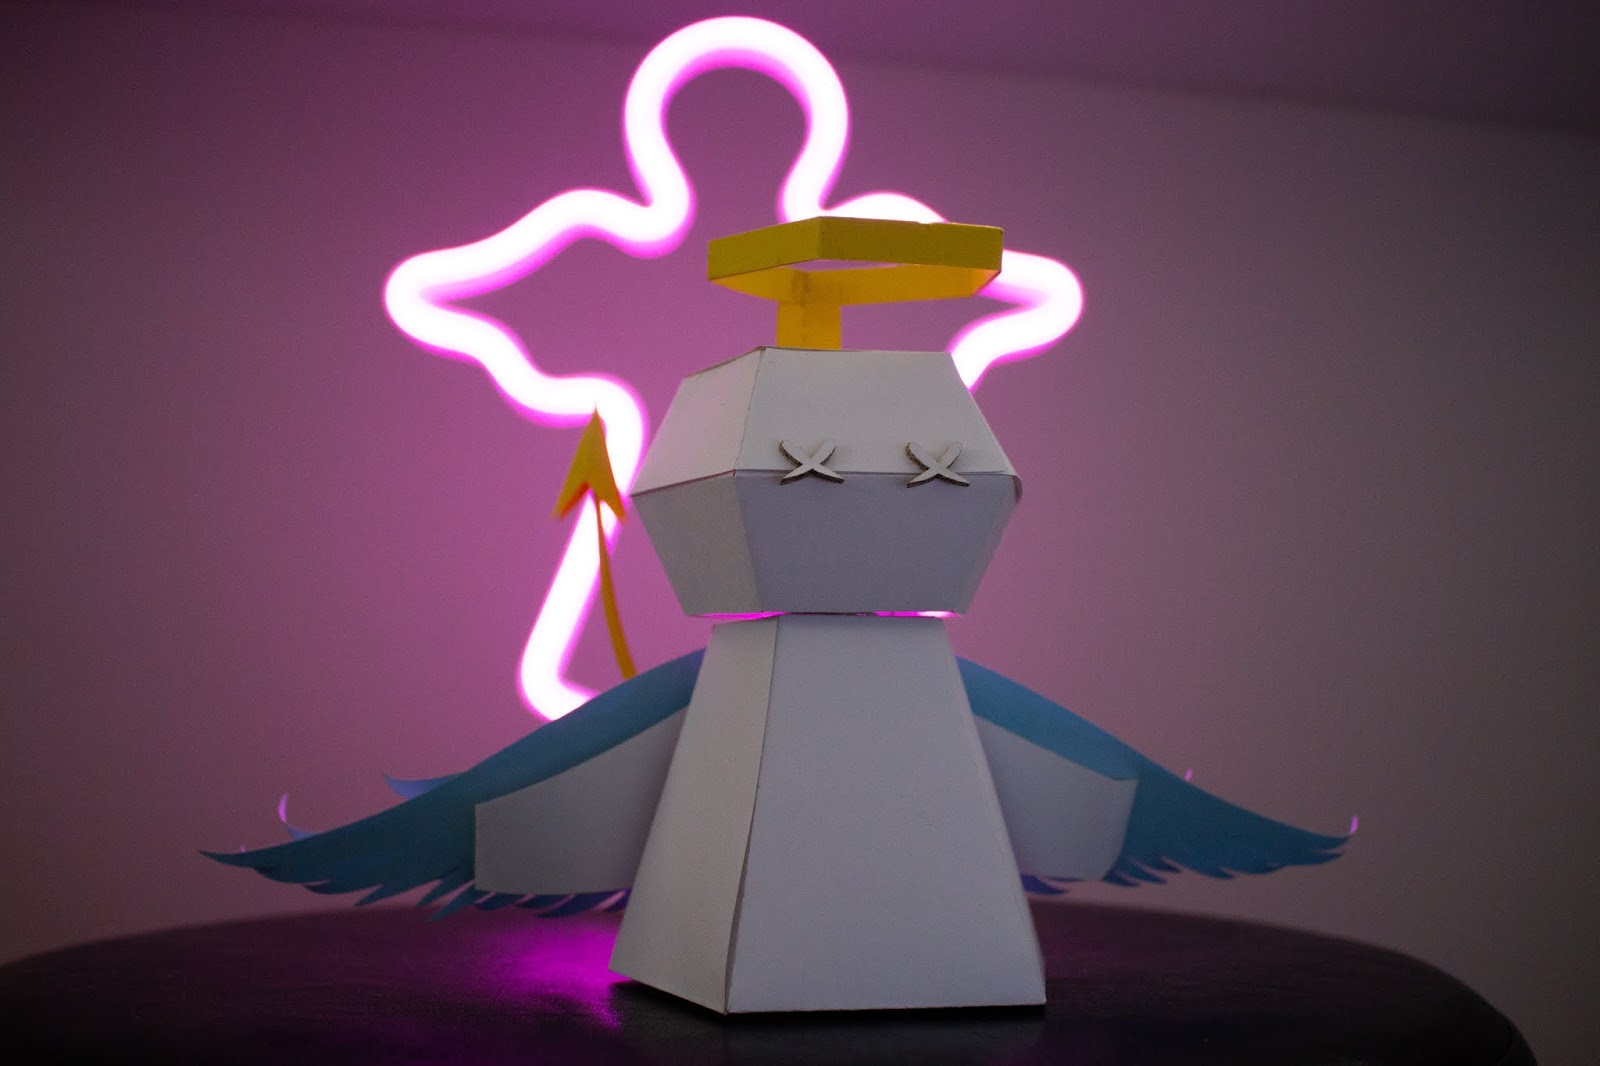
Papercraft: More photos


Comments

Post a Comment

Popular posts from this blog

4. Parametric Structure Scale Model (Digital) (ii)

Title: Lap Wave Desk Inspiration: Ocean/Wave glass sculptures and The Great Wave off Kanagawa print by Hokusai Difference from typical furniture: A typical lap desk is formal looking, just metal and a plain one colour platform. I wanted something that's less traditional and more sculpture base, one that looks like an art piece and might benefit some users with the wave patterns as holders.  Function: It's a lap desk! Those computer desks are portable and you can put them on your lap to hold your laptop on. Others might use it as a standing desk by putting it on top of a regular table Intended Location: Homes and maybe a less traditional office Intended Audience: Students, office workers, people who need to do work standing or work portable Here are the renders for my lap desk, I made two versions of it. One in an Oak material, one in transparent plastic with a slight blue colour just to make sure it would appear in the render. I made the decision of the transparent one bec...

Quick 3D printing tutorial

  Hey everyone who's reading my blog, here's a quick tutorial for people who just need a refresh of how to 3D print. But for sure make an appointment with technician if you need a full tutorial.  RHINO STEPS: 1) Select your objects that you want to 3D print, go file > export selected 2) Make sure your object is exported as an STL, Binary option!!! 3) A slider window should show up, adjust accordingly: more polygons means higher res of your object, which is great if you're printing something detailed or small, less polygon is good for faster printing. PRUSA SLICER: **Link from Object.digital, download for whatever you need for your comp https://github.com/prusa3d/PrusaSlicer/releases 1) When opening this, select Prusa i3 MK2.5 printer with a nozzle diameter size of 0.4mm. THIS IS IMPORTANT TO CHANGE!!! 2) After you've chosen these selections, save the printer info and a diff window with the plater header should show up. Click the cube with a plus sign 3) Import your S...

Reverse Engg Object: Process II

  After many struggles, I've finally begun doing the 3D version. I was stuck on creating the curved in the area for the scissors where the blade began to slant down. However, once I finished the more tricky side of the scissors (took a solid 4.5 hours), I created the second side in half the time! I tried rendering the separate blades and handles with metal and plastic for the materials. And it finally began looking like the pair of scissors I was trying to recreate!     All I'm missing now is creating the screw that holds the two sides together, though I realized this week that I couldn't' exactly take out the screw. So I have to figure out an alternative way to view it, and calculate it!